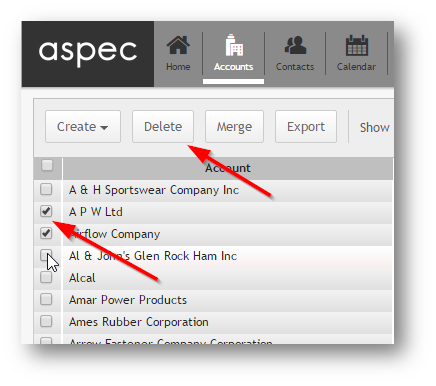
There are two ways to delete account(s) within ASPEC. The first is located in the Accounts list view. This is the easiest method to delete single or multiple accounts. Simply select the accounts you wish to remove and click the delete button.
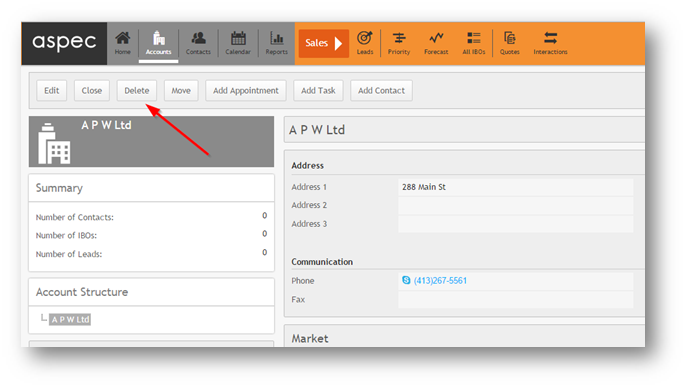
The second method of removing a single account from the system is to enter the Account form. Once in the account form you may click the delete button at the top of the form.
ASPEC provides 2 methods of removing an Account: delete and merge. Users see these options depending on their access rights set in User Profile.
If an Account is deleted, then all relevant records like Sub-Accounts, Contacts, Leads and IBOs and Interactions will also be deleted. This method should be used to remove duplicates that do not have any Sub-Accounts, Contacts and other related records.
Sometimes it is only the Account record that is duplicated, but all the related records – Contacts, IBOs, Interactions – should be moved to another Account. In this case you should consider Merging the Account with another one.
Deleting Accounts
There are two ways to delete duplicate Account(s) within ASPEC.
The first is at a listview level and can be used to delete a single or multiple accounts and all the related records. Simply select the Account(s) you wish to remove and click the Delete button.

Fig 1: Deleting 2 Accounts using a button in the Account listview
The second method of removing a single Account is to click a Delete button on the Account form in read mode.
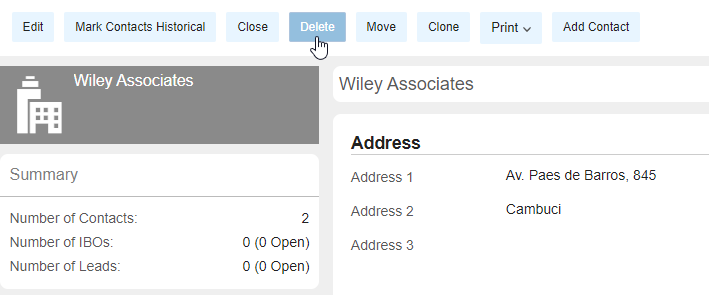
Fig 2: Deleted Account using the button on the form
Merging Accounts
You can merge two or more Accounts into a single Account if there is no Account Structure conflict.
Begin by navigating to Account listview and select two or more Accounts that you wish to merge into one. When the relevant Accounts are selected, click Merge button.
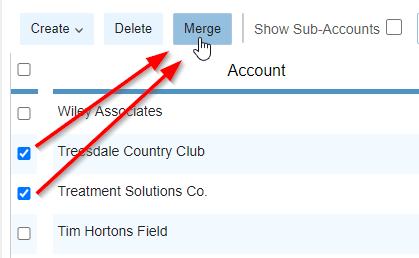
Fig 3: Merging 2 Accounts
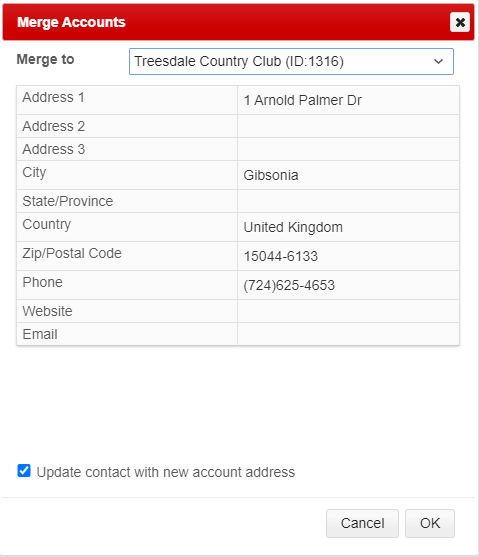
A new windows appear for selecting a “winner” Account. Please note that the ‘Merge To‘ is the Account that will retain all information. The Merge function will move all records associated with the merged Account(s) and place them under the “winner” Account. The “winner” Account will end up with its original Sub-Accounts, Contacts etc. The Sub-Accounts, Contacts etc. from the merged Account will be added to the “winner” Account.
Users also have an option to update all Contact information with the new merged data by checking the option at the bottom of the merge window.
