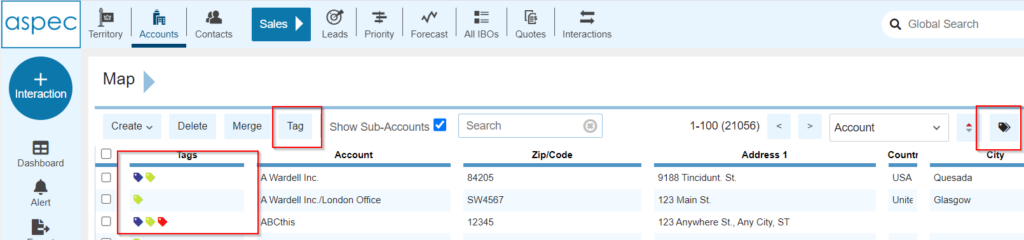
a feature called tagging. This feature can assist users in assigning visual cues to specific records in the listviews. Tagging is available in Accounts, Contacts, Leads, and IBOs.
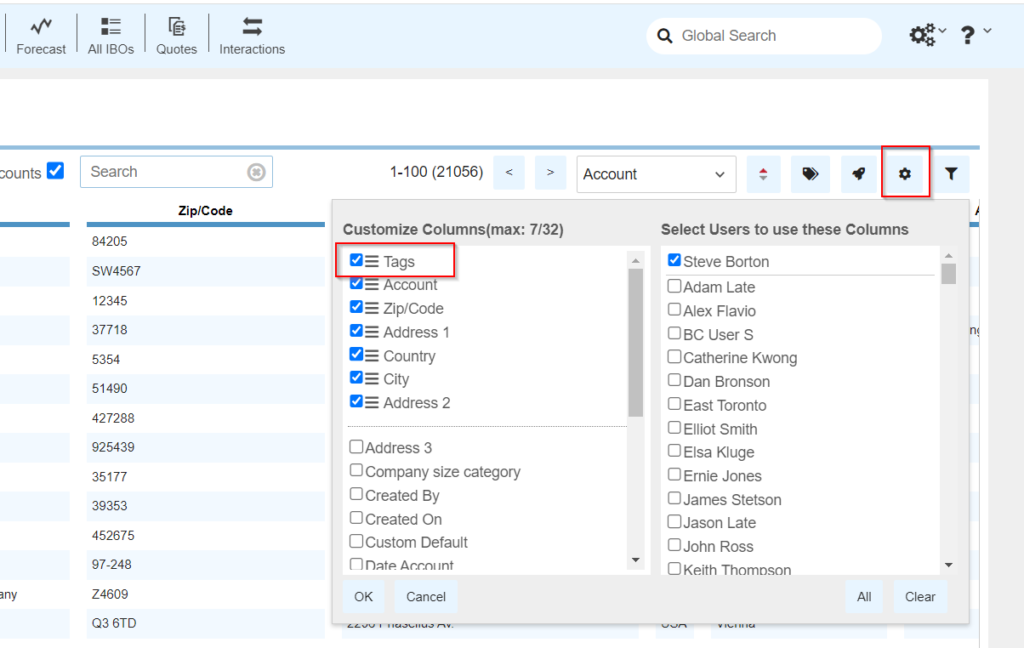
Tag columns can be enabled by engaging the customize column functionality. Locate the Tags column and select it for display
Tags can be configured to the user’s preference in the setup section.
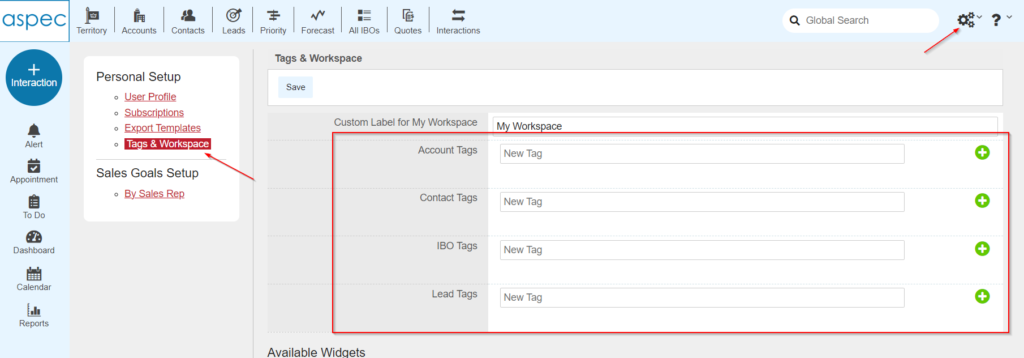
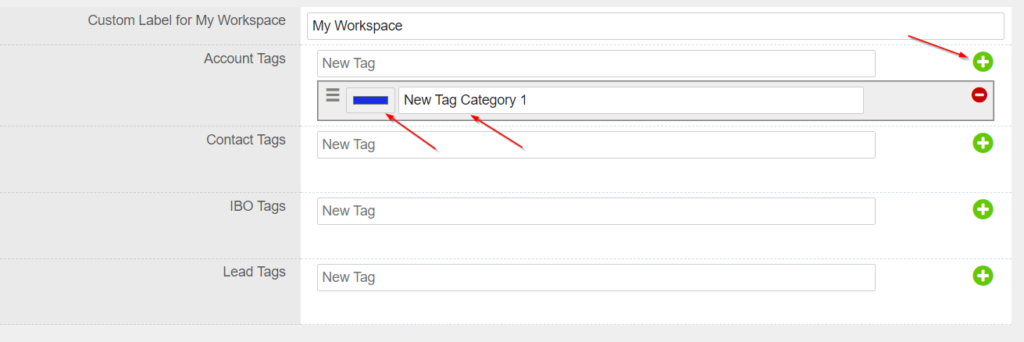
Users can add tags to the different listviews by adding tag names and colors under the individual listview names. Example, Account Tags > New Tag Category 1 > Blue Color
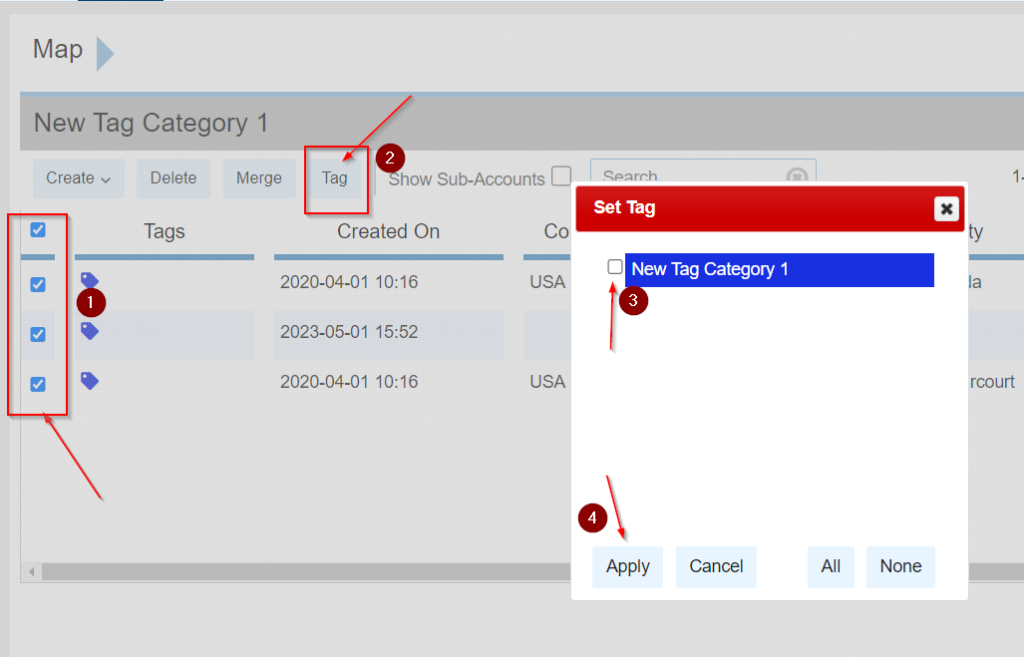
New Tag Category 1 has been created and can now be applied to accounts in the accounts listview section. Navigate to the Account Listview and select one or more accounts, click tags, select the appropriate tag(s), and click apply.

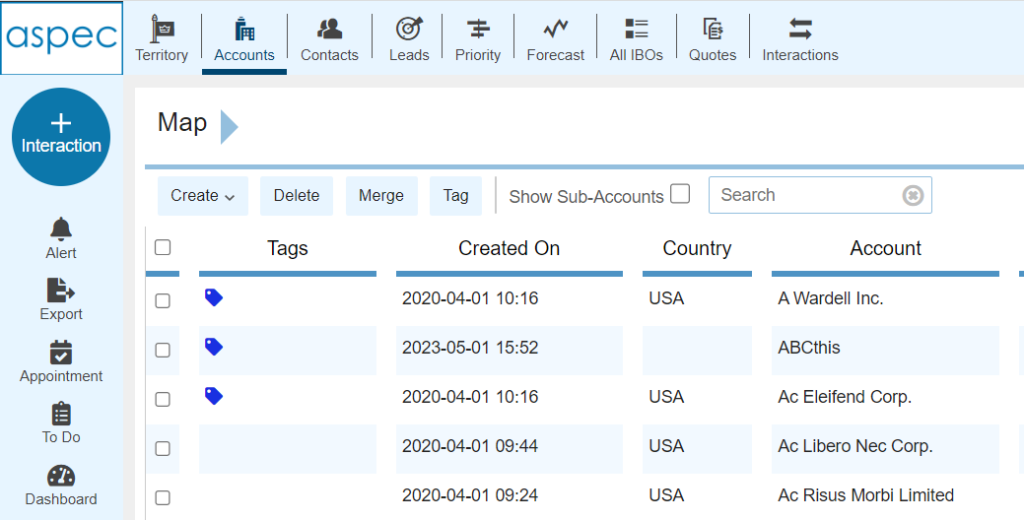
The selected accounts should now have the intended tag applied in the listview.
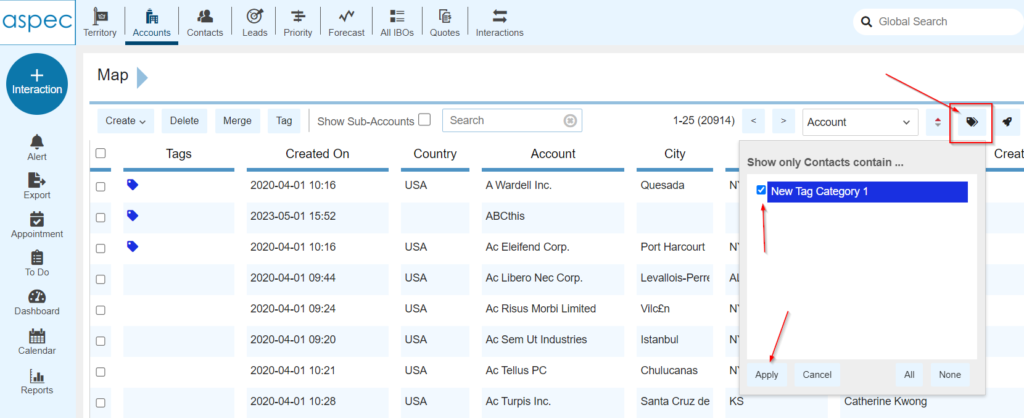
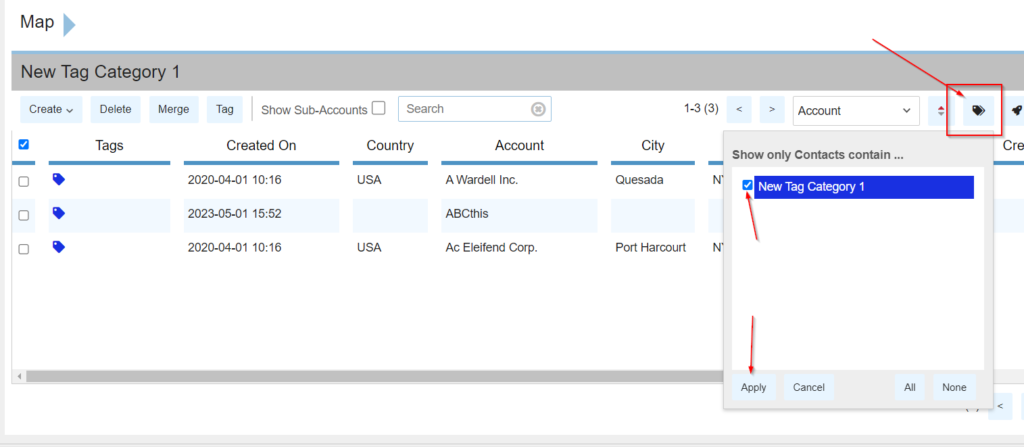
Tags can also be applied in mass as a filter. Select the filter tag ability on the top right corner of the listview. For Example, we only want to see the accounts tagged under New Tag Category 1 we created in Figure 4.
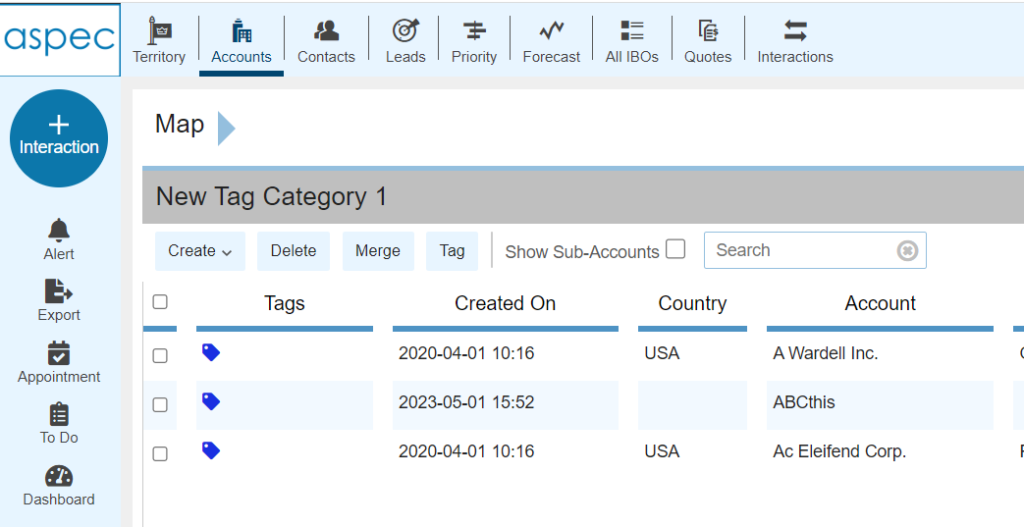
Now we can see only the accounts that are tagged under New Tag Category 1
To remove tags from accounts follow the same process as adding but instead deselect the tags. For Example, select the accounts with tags and click tags, deselect the tags, and click apply to remove.
To remove the tag filter. Select the tag filter tab and deselect the activated tag filter. Click Apply.
Tip: Tags can be created in Accounts, Contacts, Leads, and IBOs.